Beginner ice climbing tips; Hopefully, Beth convinced you that ice climbing is rad and you should definitely give it a try. If not, re-read her article, then picture yourself clutching ice axes with Wolverine-like claws coming out of your boots, and tell me that lovely image doesn’t make you smile just a bit… Today Beth and Crux Crush share 6 tips to keep in mind for your first time out climbing ice. (As always, don’t try this on your own, make sure you partner up with someone who knows what they’re doing).
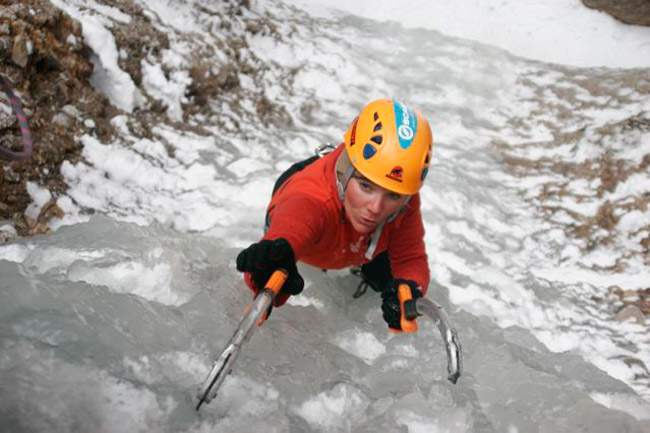
Caroline George of Chicks with Picks looking for that perfect placement. (Photo credit: Chicks with Picks)
“Stick” With It
Learning how to move on ice starts with familiarizing yourself with how to swing that ice tool and kick in those crampons. The goal with each swing of an ice tool is a “good stick” – a solid thunk into good ice that seats the point of the pick solidly. Getting that good stick starts by identifying a good place to swing – in general, picks will sink well into indented areas of the ice, while swinging into curves of ice that bulge out will just result in the ice shattering around the point of impact.
Must read “NAMULI: AN INTERVIEW WITH MAJKA BURHARDT.”
Look for an indentation in the ice about a foot or a foot and a half above the shoulder of your swinging arm, pull the tool back as you bend your arm and aim your elbow at the target, and then swing into the target by bending your arm at the elbow. A downward flick of the wrist at the end of the swing will help bury the pick and get that good stick. You’ll know it when you’ve got it – solid, strong, no wobbles – and it doesn’t take more than a few hours of ice climbing to recognize the unmistakable sound of a good stick.
Angela Hawes demonstrating perfect technique!
Embrace Your Inner Frankenstein
As in rock climbing, good hands are only as strong as good feet. In order to get a good swing, you need to be solidly balanced on your feet. You can make footholds pretty much anywhere you need them by kicking them into the ice with your front points, but it’s easier to start by working from the natural shelves in the ice formations. To get your front points solidly in, you want to swing from your knee as if you’re kicking a ball with your toes (a guide I worked with called this pretending to be Frankenstein playing soccer).
Try to keep your feet as level with each other as possible. Once you make contact, keep your heels low and your center of gravity over your feet in order to keep your front points from skating out of the ice.
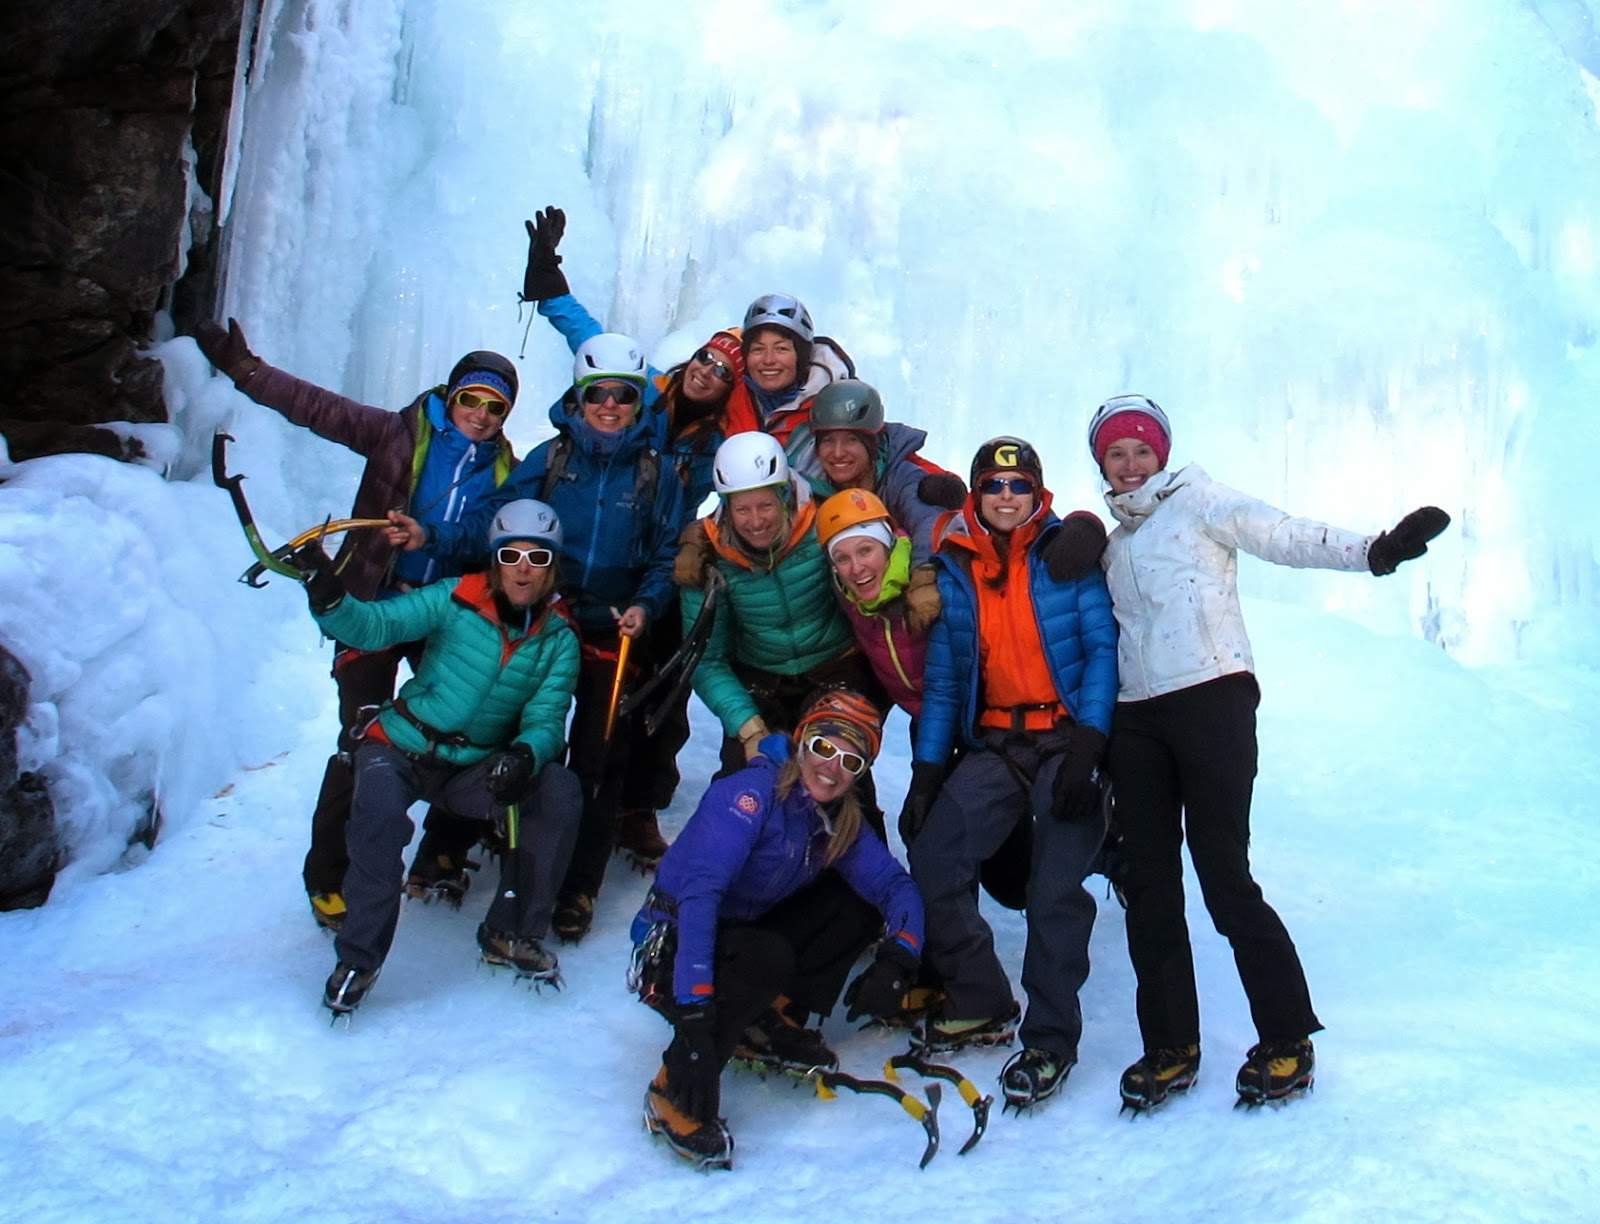
Climbers at the Cogne Ice Festival showing off their layers. (Photo credit: The People You Meet Along the Way)
Layers Are Your Friends
A day out of ice climbing is a day filled with intense activity (climbing) and relative inactivity (belaying). You’ll want relatively light layers on your upper half for climbing – in all but the most intense conditions, most climbers will head up the ice with only a base layer, technical top, fleece, and either a hard or soft shell on top. You won’t be cold at all dressed like this while you’re moving up, I promise!
As soon as you’re done climbing, you can lock in all that hard-earned warmth you’ve just generated by putting on a puffy down coat before you start belaying for your climbing buddy. It may seem weird, but you’ll wear your puffy down-coat on top of your shell. This will prevent your body heat from escaping when you take off your down coat to climb. It will also keep your other layers dry. When it’s time to climb again, off with the puffy and away you go.
Since you can’t take your bottom-half layers on and off as easily, you’ll want to go pretty warm on the bottom – for me, that’s usually a base layer, a fleece or wool layer, and either a soft-shell or hard-shell pant, but most women I climb with are happy with just a base layer and a soft-shell pant. Layers apply to your gloves too. Wear a thinner pair of gloves that you can tie your knot with or could use to handle things.
Cover these with a much thicker pair of mittens designed for ice climbing or skiing/snowboarding. If you’re still needing some warmth, throw in some hand warmers and you should be good to go!
Get Your Munchies On
Food is super important. Your body is using a ton of energy to climb and another ton of energy to stay warm. Refueling frequently helps make sure that your body doesn’t have to skimp on the keeping-warm side of the equation. My rule of thumb is about 100 calories an hour, which I get through a mix of energy gels, chocolates, nuts, and dried fruit. My non-vegetarian climbing pals will bring pre-cooked bacon or beef jerky-type things. Think high-calorie and easily portable and you’ve got the idea.
Warm Liquids Rock
I always bring at least one hot thermos with me, sometimes two. Some swear by hot chocolate, others tea; I love the salty tang of miso soup. Never underestimate the power of getting warmed up from the inside. As one climbing partner put it, “it’s like getting hugs from Mom.”
Ice, in its ephemeral nature, can easily be here today and gone tomorrow.
Ice Is Ephemeral
Remember back to your high school chemistry class and the fact that ice/water is an ever-changing medium. Ideal ice conditions between 20 and 35 degrees produce the just right “plastic” ice, not so cold that it could potentially shatter, and not so warm that it will melt. Keep in mind though that an ice route can be there on Tuesday and go on Friday. Even within a morning of 3-4 people climbing on a route, by the time you decide to give it a second go, the route could be drastically different.
So have fun, be safe, and crush that ice!
Thanks To The Author For Useful Beginner Ice Climbing Tips
Beth is entering her fifth season on the ice and is looking forward to pushing her limits again this year. She’s happiest on rock, but every year finds ice climbing sneaking up in her affections.


