Tips To Trad: A Beginners Guide: When I began trad climbing earlier this spring, I was entirely perplexed about where to start. I kind of felt like…

And though I’d like to say trad isn’t complicated, that’s not really true. Women on lead: an interview with the setters of the Austin bouldering project
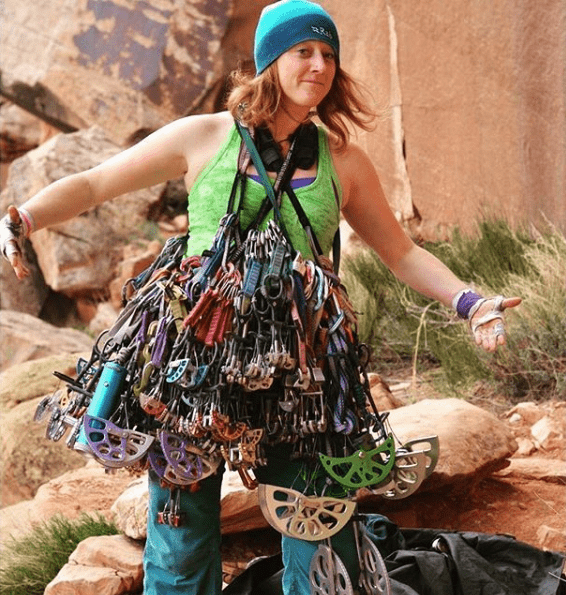
The sheer amount of gear alone is overwhelming! Don’t worry, you probably won’t need this much. Photo by Weigh My Rack
The fact is, trad requires an added level of technical expertise and gear than sport climbing – there’s no avoiding that. But when you boil it down, these are essentially the two things you need: skills and gear. Here I’ll walk through the elements of each, and provide tips for your first lead. This is by no means comprehensive, but will hopefully give some ideas and a good starting place.
Trad isn’t for everyone and if it’s not for you, that’s okay, but though it may feel initially overwhelming, it’s undoubtedly worth it. Unlike sport climbing and bouldering, which focus more on pushing physical limits, trad focuses on pushing geographical boundaries: it’s about adventure. It can take you to remote, stunning places – and there’s nothing quite like walking away from a climb knowing you didn’t use bolts or anchors, but only your own skills, body, and the jangly bits of metal in your backpack.
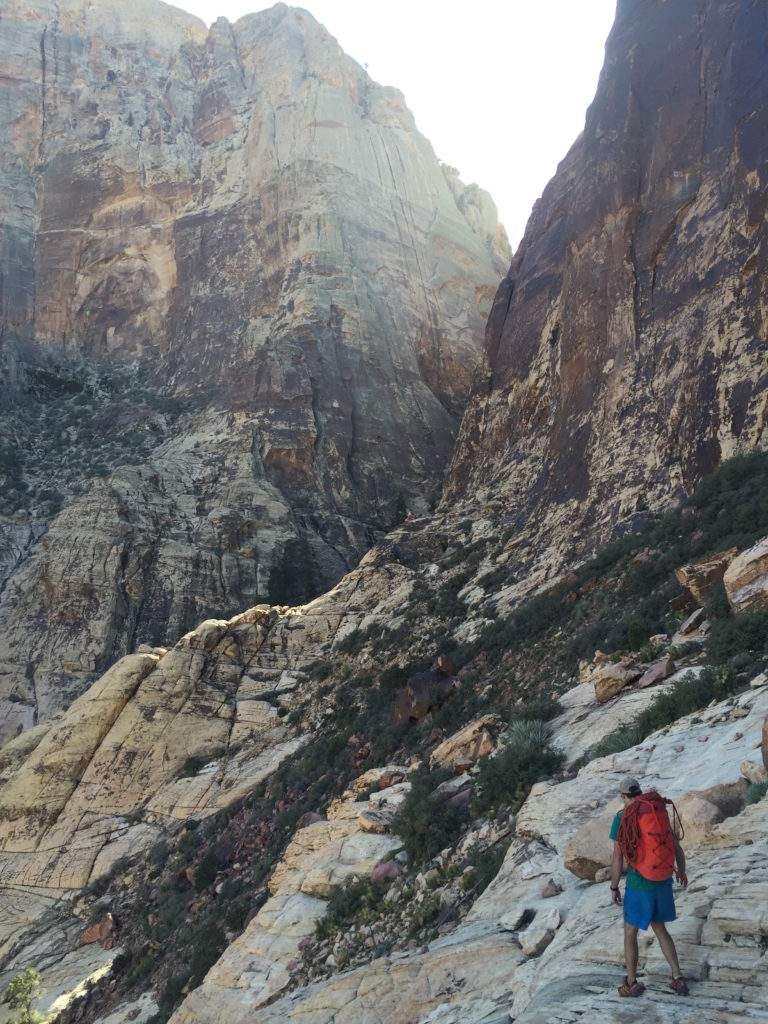
My climber partner Archie on the walk off from “MysterZ”, 7 pitches, 5.7 Red Rock, NV
Before you consider learning traditional climbing, however, I’d recommend you:
- have significant experience leading sport routes outdoors,
- be able to climb a 5.9 outdoor sport route clean, and
- have a comfortable understanding of anchor systems, including how to build gear anchors (an excellent book on this is John Long and Bob Gaines’ Climbing Anchors).
These are my personal recommendations, though I think they are generally agreed upon in the climbing community. All climbing is dangerous, but trad has an added potential for human error. It’s technically, physically, and mentally taxing. You want to be as prepared to handle these elements as possible. Meeting the above guidelines gives you, I believe, the best chance at doing so. But like all climbing, no one can say what is right for you. Practice sound judgment to ensure your own safety and the safety of others.
Great, now we can get onto the fun stuff!
GET THE SKILLS
Take A Course
If you have the money and time to take a trad climbing course or hire a guide for the day, you absolutely should. There are plenty of classes and guiding services out there, especially in big climbing destinations (Red Rock, Moab, Joshua Tree; something to consider planning for your next trip), though there may even be some offered by your local gym. This is an especially good option if you don’t have friends who climb trad, or friends willing to teach a newbie. Further to the topic; tips to trad: a beginners guide below.
Find A Mentor
There’s really nothing better than someone who can provide their gear and the expertise to you at no cost, who can patiently walk you through everything and answer your questions. Don’t be afraid to ask someone to share their knowledge; most of us were taught by a mentor and are willing to repay the favor. Just make sure that it is someone you trust and who really knows their stuff, and that you buy them a beer at the end of the day!
Do Your Research
I don’t think climbers spend enough time studying the mechanics of their sport. Have you ever really read Freedom of the Hills? And the vast expanse of the internet is such an excellent resource; there are endless forums and blogs discussing the best and safest method of doing things. For quick points of reference, Climbing and Rock and Ice have plenty of trad climbing how-to articles. Study up.
GET THE GEAR
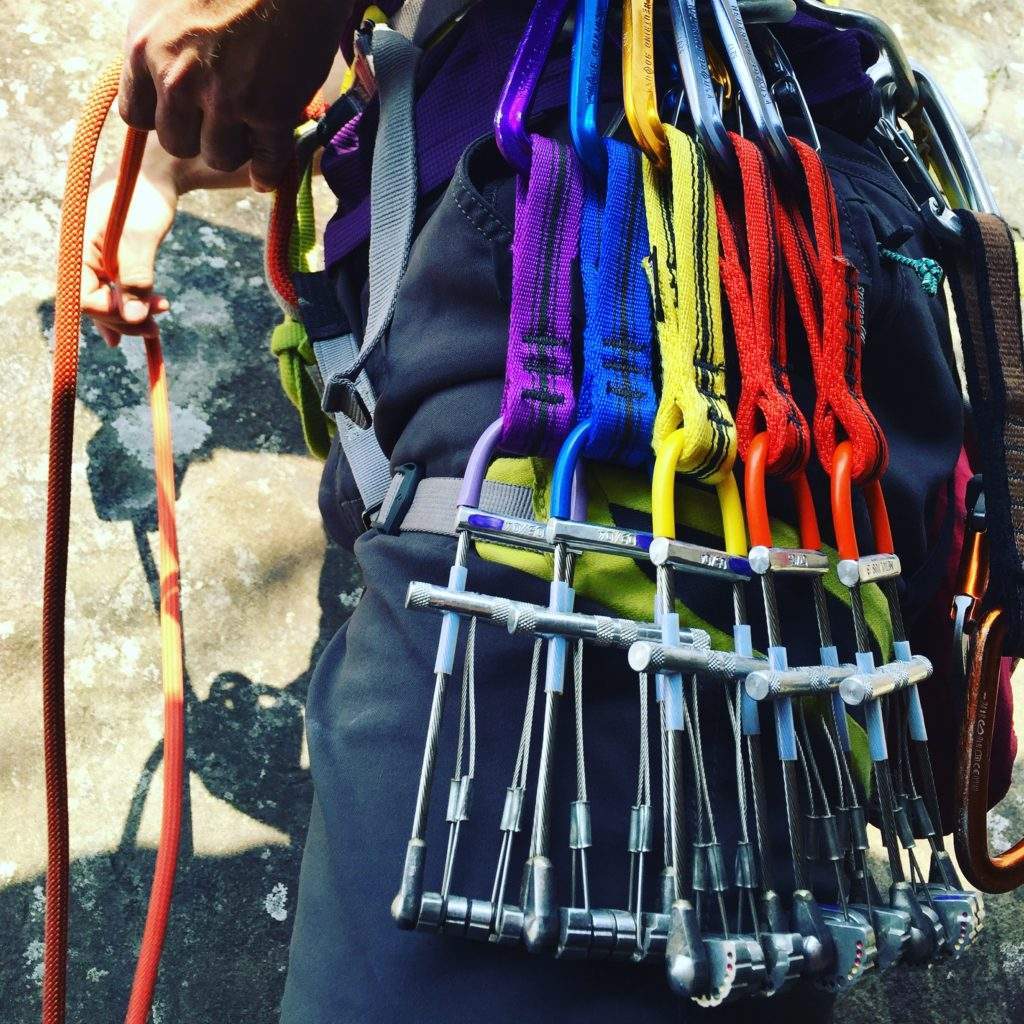
Some pieces from my rack. These are Metolius Ultralight Power Cams.
Borrow Someone Else’s Gear
It’s a lot to commit to buying gear before you’ve even tried trad. You could throw down $1,000 on a rack. If possible, find someone you trust whose gear you can use before committing to buying a rack yourself. This is one of the big pluses of finding a mentor.
Think About Where You’ll Use Your Rack
When you are ready to buy your own rack, consider where you’ll be using it. A standard dessert rack is different than a standard Minnesota rack. Do a little research (a few Google searches or prowling Mountain Project forums will suffice) about what is required for your area or desired climbing destinations.
Start With A “Single” Rack
This backcountry.com guide does an excellent job at describing what a “single” rack (i.e. enough gear to get you up most climbs) looks like. Just briefly, though: you’ll want a combination of active and passive gear, the stalwarts of which are camming units and stoppers/nuts. But you may also choose to purchase micro nuts, micro cams, tricams, or hexes. Finally, you’ll need quickdraws, alpine draws, a nut tool… The list gets lengthy, so take your time with your decisions.
Don’t Skimp
Avoid secondhand gear unless you know exactly how it was used and by whom, and even then, you should carefully inspect it (actually, you should inspect all gear, even newly purchased). While gear is expensive if you intend to trad climb, pay your dues. Climbers get in trouble when they try to be cheap. Nothing is more valuable than your life.
YOUR FIRST LEAD
Mock Lead First
The best way to prepare for your first lead is to mock lead, which basically just means top-roping a route and placing gear as if you were leading it. If possible, have an experienced leader check your placements and give you feedback. Other helpful exercises: follow a leader and inspect their placements, or experiment with placing pieces in features while on the ground.
Me following the leader, wearing the oh-so graceful follower pack. Photo by Archibald Fraser
Find An Easy, Easy Route
When you’re ready for your first lead, find a route that is far below your regular grade – something between 5.3 and 5.7 that you know you will not fall on. My first lead was in St. George, Utah, on Under the Sleeping Giant (5.6). These routes will often say “great for the beginner leader” in their descriptions and are easy to protect.
Take Time To Rack Carefully
Everyone racks differently. Most put small pieces in the front of their harness or a sling, and larger pieces in the back. Some climbers like to rack everything on their harness, some everything on a gear sling, and some a combination. Whatever you chose, do the same thing every time so that when you’re mid-climb and pumped, you’re not wondering, um where’s my .5 cam?!
Place During Rests
The best advice I ever got when starting trad was to find good rests when placing pieces. Sometimes, you mentally spaz and try to place something immediately while on a difficult section. This makes you even more anxious and pumped. Enjoy your rest, find your rest, and place during your rest.
Breathe!
The most surprising part of trad for me was the mental game. It can be really scary and you can get in a headspace where all you’re thinking is, “If I fall will my last piece hold?” Avoid this line of thinking and keep your cool. Pause at the start of the route to breathe, and refocus and breathe throughout the route.
Assess Your Placements
Judge each of your placements as you clean your lead, or if you can, have an experienced leader follow and assess them. Apply what you’ve learned to your next climb, rinse, and repeat!
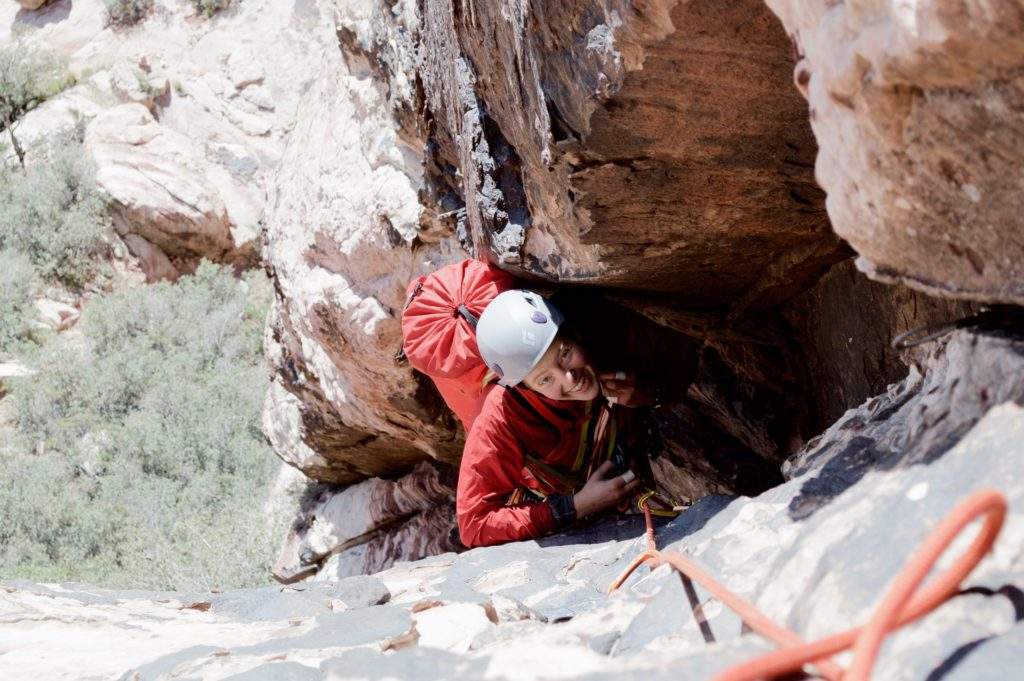
Phew! Now get out there and let trad climbing make you feel something like this:

Climb on!
Drew


