In today’s post, we share a few tips we’ve learned along the way in designing a rad home wall, specialized to fit your own personal training needs while also providing an atmosphere that supports your climbing community.
Several of our readers have requested a post on home walls. The fact is, that as far as the construction goes, Metolius has done a fabulous job of detailing out the process. Rather than reinvent the wall, we’ll just refer you to their instruction manual. However, after building 3 walls in 3 different houses, we’ve learned that it takes a lot more than a blueprint, a willing landlord, plywood, and some holds to take your wall to the next level, which is part of the reasoning behind building a home wall: to go beyond simply being a miniature replica of the standard climbing gym.
We are continue to explore more Spain, check out our climbing guide in El Chorro.
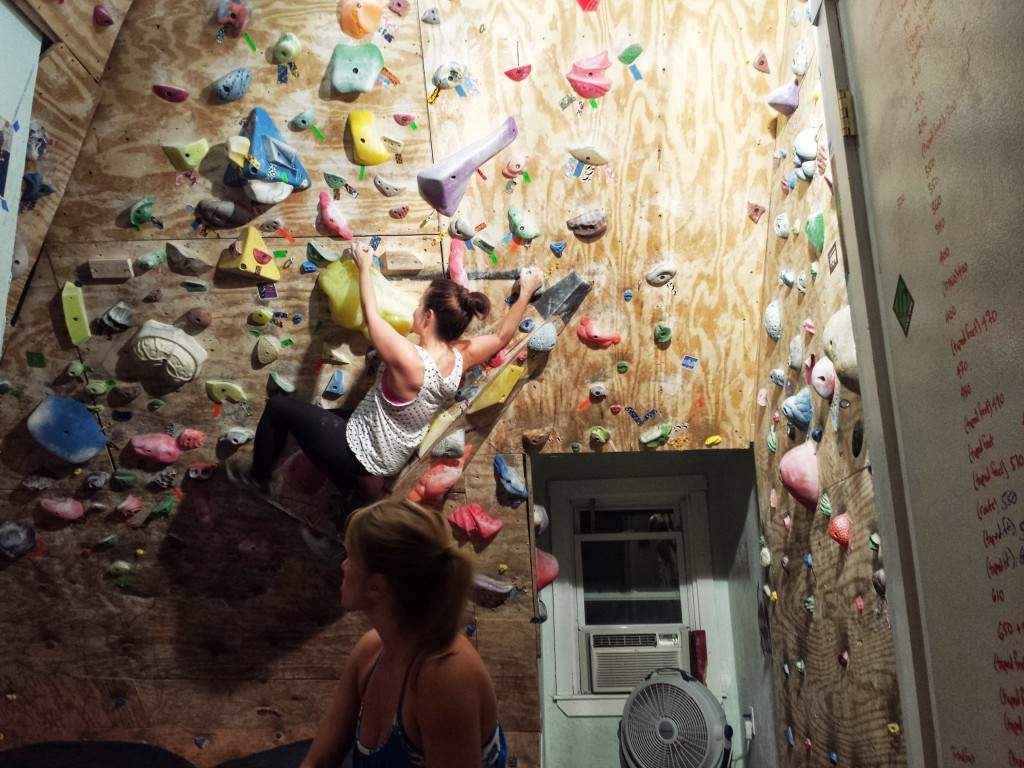
We integrated the attic’s window dormer into our wall to add more interesting movement.
Add Variety In Rad Home Wall
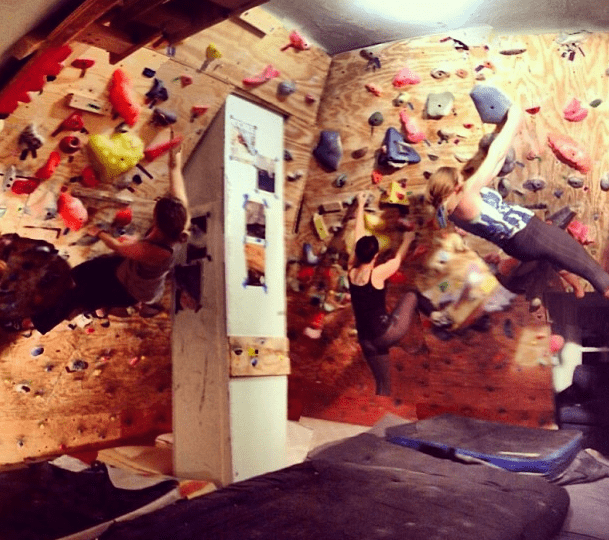
Your wall location (shed, garage, basement, attic) will dictate how much you’re able to vary the wall frame itself. However, if possible, try to build in some variety which will allow you to create more interesting movement when setting problems. You can do this by building in a dihedral/corner of your basement, extending the wall onto the ceiling, hanging the plywood at different angles, or adding a volume. On our current wall, the volume has added by far the most variety.
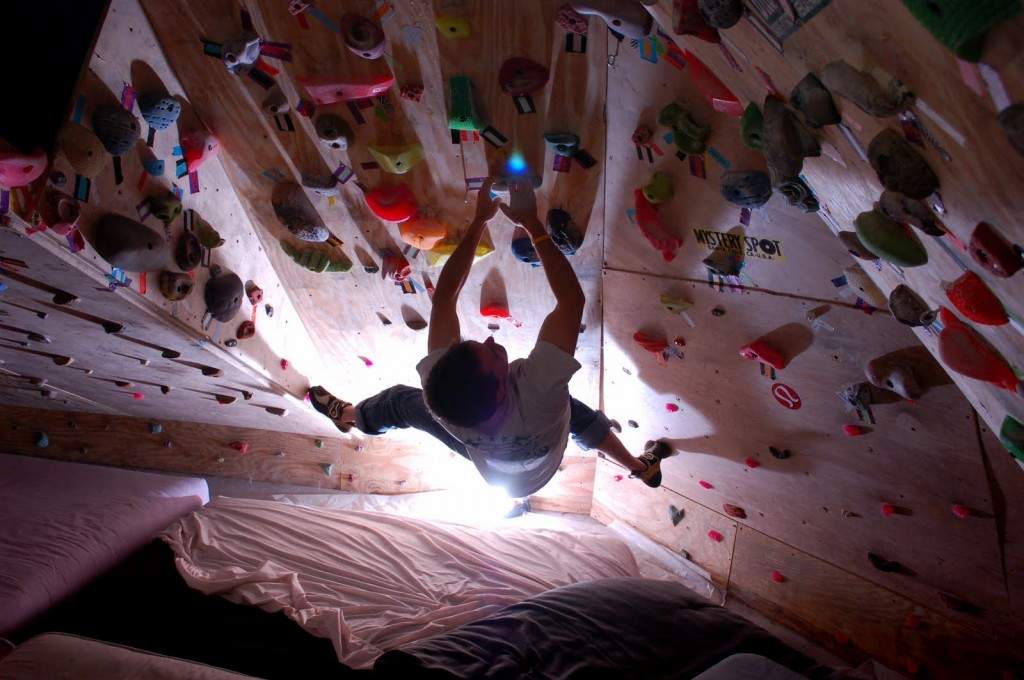
While you can purchase some awesome volumes, you can also build your own to fit your wall. We’ve also maximized our wall’s natural location with in our attic by building on our attic’s pre-existing 45 degree walls, adding in a 0 degree vertical wall, using the attic’s dormer window for under-clings and toe hooking, and incorporating in the chimney that goes up through the middle of the attic.
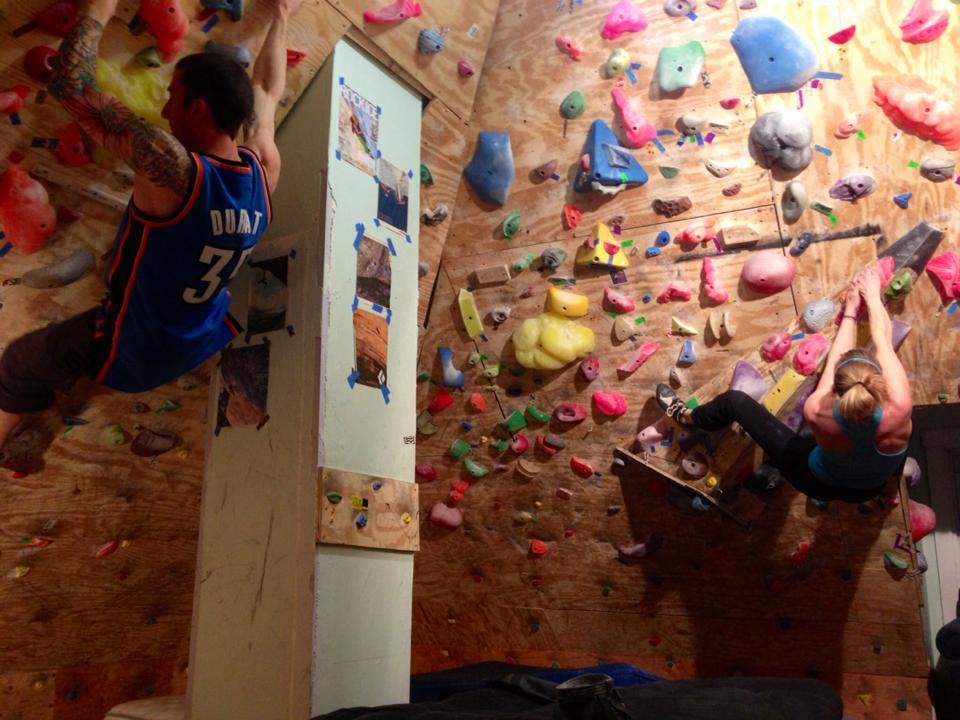
Our second home wall, “The Gun Shop”, had walls at different angles.
Setting Diffrent Angles
Anyone who has set and reset a wall knows how time consuming it is. We’ve found the best approach is to reset the entire wall at once, which we typically do every 4 months. Rather than approaching setting by putting up a bunch of different problems one by one, we recommend setting one warm-up jug haul going right to left, and another going left to right. From there, fill in the wall with the rest of your holds. Not only will this give you two warm up routes, but it also ensures that good holds are evenly distributed. This makes it easy to set moderate problems across the wall.
When you fill in the wall with your remaining holds, don’t worry about setting full on problems; rather, think about cool moves between 2-3 holds and let problems or routes form organically from there.
Gotta give credit to my husband, who was most of the brains (and brawn) behind our walls.
Foot Chips
You might not think of foot chips as warranting an entire tip, but they are critical for taking your problems “to the next level.” Invest in a giant bag of foot chips (and I mean hundreds) and splatter them across your wall. When we tape problems, we only tape the hand holds, leaving decisions about which feet to use to the climber. On our wall, we typically recommend for our beginner friends to use open feet (all holds on the wall are available for feet). For anyone wanting to challenge themselves more, we suggest using only foot chips.
The difference between these two approaches allows one problem or route to be modified to fit two different levels of climbing. It also pushes you to develop better foot work and is a more natural representation of climbing outdoors where there are lots of really bad foot options.
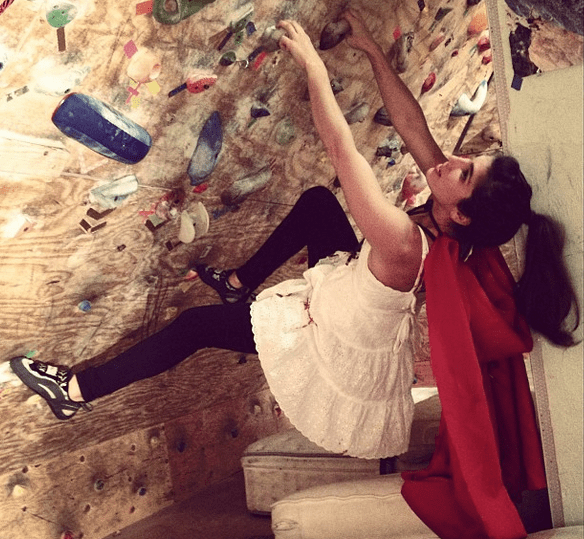
We host an annual climbing competition at our home wall – climbing in costume gets you extra points!
House Rules
“Foot chips and tracking only” are one example of house rules. Just as a climbing gym doesn’t perfectly replicate climbing outside, your home wall is going to replicate the great outdoors even less. It might seem contrived, but if you’re going to maximize your home wall, set some “house rules”. We require controlling the second to last hold of the problem to prevent someone from dyno-ing past half of the problem. Your rules could dictate using every hold on the problem or route. Or maybe you make it a rule that the monthly membership for your home wall is a 6 pack – hey, your house, your rules.
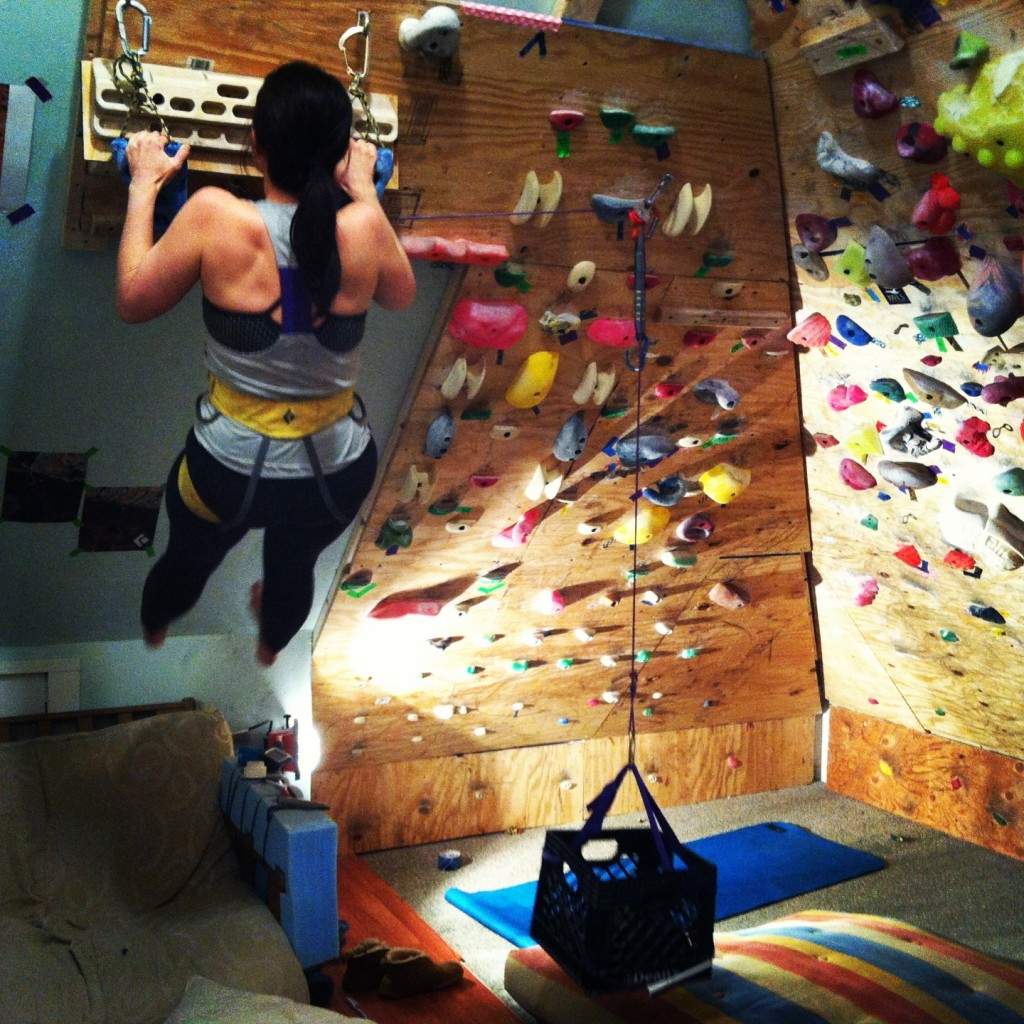
A hangboard, pulley system, rings, and a system wall complete the perfect training space
Make It More Than A Wall
Integrate all of the training equipment you need to complete your training. Some people upgrade their home, us climbers upgrade our wall! Examples of such upgrades include adding a hangboard, campus board, rings, system wall, or attaching a pulley system with weights. Once you have the wall in place, these are all relatively easy to add on and create a full training gym – you’ll never have to leave! For route climbers, you can add eye bolts to practice leading while working your routes. You may think this seems needlessly excessive, but try clipping on a 45 degree wall while moving horizontally and you’ll really start to perfect the efficient clipping stance.
Evolve With Your Wall
One of the coolest things about having a home wall is that it is your wall. You get to decide the problems, the set up, the rules, who climbs there, the music, etc. With your own personal wall, take advantage of the ability to set a route that will evolve with your training. This idea comes from training guru, Steve Bechtel. Set a difficult route that will take you some time to “project”. The route should be long – on our wall, this requires going across the wall and back. Once you’ve mastered the route, choose the biggest, best hold on your route and replace it with a smaller hold. Continue to do this as the route evolves.
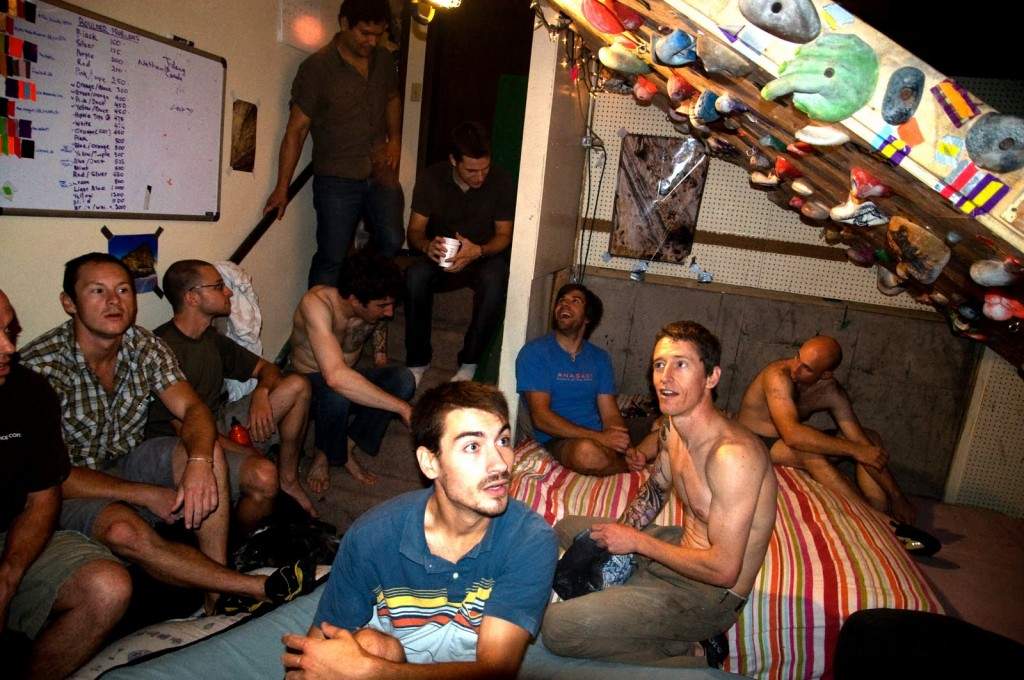
My husband and his groomsmen at ‘The Gun Shop,’ about 2 hours before our wedding.
Set The Mood
Our home wall is about so much more than just training or climbing hard. It’s the place were we spend the majority of our nights. Our friends all know that the wall (and our front door) are always open for them to come by to climb or chill. Part of what makes a good home wall is creating a welcoming, comfortable, “get after it” atmosphere. Each of our walls has had a different name (The Stronghold, The Gun Shop, and The Garage Mahal, a.k.a.: SAFWOP – if you can figure out what that stands for, I’ll give you a high five).
Find an old couch off of craigslist and throw it in your wall for spectators and spraylords. Have your climbers “sign-in” with their wing span. Get some good speakers. Keep a mini fridge next to the wall (to collect membership fees).
Do you have a home wall? What are your tips?
Climb on! ~Cate


